
DIY Process of Engine Oil Change: A Step-By-Step Guide for Motorcycle Owners
Published by: Chevron Technology | 31-Mar-2026
It’s always advisable to seek help from your trustworthy mechanic or service centre when things go wrong with your motorcycle. But at the same time, it’s always good (read wise) to know a thing or two about your bike, especially the crucial ones, so that you can address a concern or routine check in it. Like changing the engine oil of your motorcycle – something which is not rocket science, but a simple process which you can do yourself.
Knowing when to replace the engine oil is relatively easy, given that it is a routine process your motorcycle undergoes in its periodic service schedule. However, figuring out how to do it may be difficult at first. Thankfully, it is not as complex as it seems. Here, we will guide you through the engine oil replacement process in a step-by-step, beginner-friendly manner.
When to Change Your Motorcycle Engine Oil: Frequency & Warning Signs
Usually, every motorcycle manufacturer recommends replacing the engine oil in all of its motorcycles as part of their routine service schedules, which are typically performed once, twice, or four times a year.
Frequency of Engine Oil Replacement
Nowadays, most motorcycle brands recommend changing engine oil once every service schedule – 3,000 km or 3 months, 5,000 km or 6 months, or 10,000 km or 12 months (whichever is earlier). Most entry-level motorcycles with engines smaller than 150cc require engine oil replacement once in every 5,000 km or 6 months (whichever is earlier).
Warning Signs of Engine Oil Replacement
While the manufacturer has pre-determined replacement routines for changing the engine oil on its models, it also depends on certain factors, such as riding style and climatic conditions, which may necessitate an earlier engine oil replacement. Some of the signs which indicate such untimely replacement of lubricant oil are:
- Dark or dirty engine oil: This occurs due to excessive sludge formation, which is caused by prolonged riding in dusty environments.
- Unusually harsh noises coming from the engine occur due to increased friction between the engine’s internal components, resulting from a lack of engine oil.
- A drop in performance or fuel efficiency occurs due to an interrupted flow of engine oil caused by the accumulation of dirt or sludge.
- Overheating: It occurs due to excessive frictional heat generated by increased friction between the engine’s components.
Gear Up: Tools & Materials You'll Need
Like we have already mentioned above, changing the engine oil in your motorcycle is not rocket science, and for that, you will need a basic set of materials and tools, which are as follows:
- Motorcycle Handbook (Owner’s Manual): The motorcycle handbook is the most important reference before changing engine oil. It provides manufacturer-approved information such as the correct oil viscosity, oil specifications, oil capacity, service intervals, and oil filter requirements. Following the handbook helps prevent the use of incorrect oil grades or quantities, which could lead to reduced engine performance, increased wear, or even engine damage. Always refer to the handbook to ensure the oil change is performed in accordance with OEM recommendations and warranty requirements.
- Engine Oil: It is highly recommended to use the viscosity grade and specifications recommended by the manufacturer for your motorcycle. For most small-capacity motorcycles, the quantity of engine oil required during replacement generally varies between 800-1000ml.
- Oil Filter: Replacing the oil filter along with the engine oil will yield better results. Ensure that the specifications of the oil filter match the ones recommended by the manufacturer.
- Tools: The tools required for an engine oil change include a wrench to remove the drain bolt and oil filter, and a screwdriver for disassembling and assembling body panels.
- Oil Drain Pan: It is required to collect the old engine oil, which needs to be drained, to replace it with a fresh new dose of engine oil.
- Funnel: It is essential to refill the new engine oil without spilling it, thus preventing wastage of the engine oil.
- Cleaning Materials: You may need items such as paper towels or gloves to keep the entire engine oil replacement process clean and spill-free.
The Engine Oil Change Process—Step-by-Step
The ‘do-it-yourself’ process of changing engine oil is the same as what a trained mechanic will do at a workshop or authorised service centre, which is as follows:
- Step 1: Park your motorcycle on a flat and safe surface on its centre stand. If your bike does not come with a centre stand, use a paddock stand for it.
- Step 2: Warm up the engine by running it at idle for only a few seconds, which allows for faster drainage of old engine oil.
- Step 3: Turn off the ignition and keep all the materials ready, including new engine oil, oil filter, tools, oil drain pan, funnel and cleaning materials.
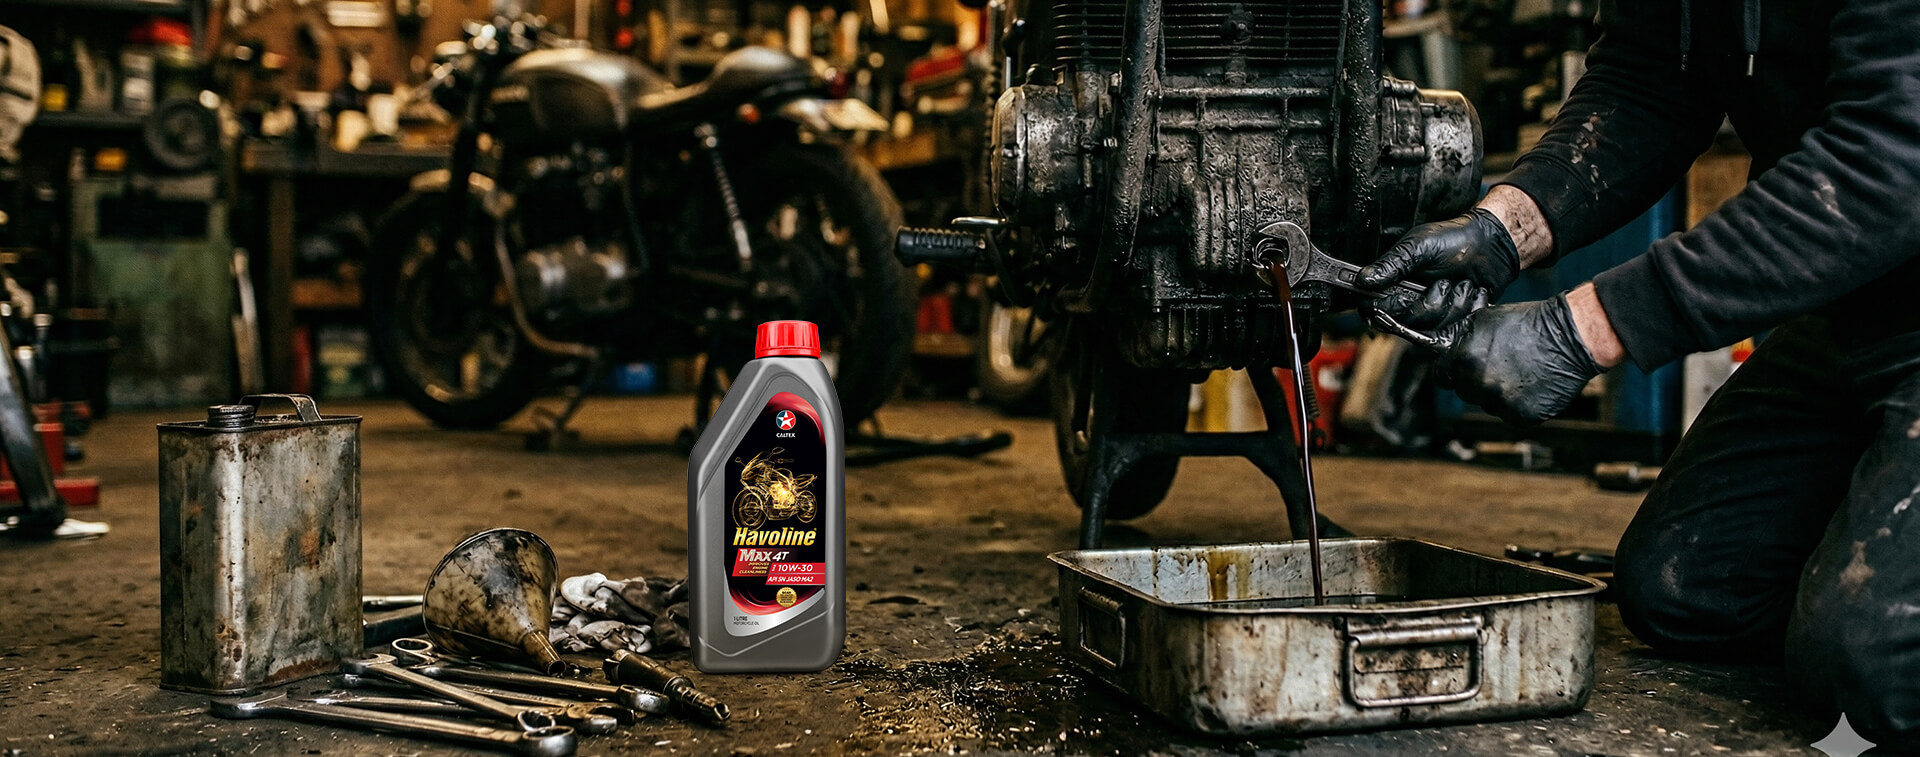
- Step 4: Place the oil drain pan below the oil drain outlet on your motorcycle engine and carefully remove the drain bolt above it using a wrench. Upon doing this, the oil will begin to flush out of the drain outlet. Let the oil drain into the pan and collect the old till the last drop.
- Step 5: Remove the old oil filter using the wrench and replace it with the new one.
- Step 6: After the old oil is completely drained, reinstall the drain bolt and tighten it. Then, open the inlet port for the engine oil at the top and fill it with the new oil using a funnel. Fill the engine oil only till the limit or quantity recommended by the manufacturer.
- Step 7: Close the inlet port for the engine oil and turn the ignition back on to warm up the engine by running it for a minute. Check for signs of any possible leakage.
- Step 8: Clean the spilt oil drops (if any) with the help of paper towels, which can also be used to clean the tools used during the engine oil change.
Choosing the Right Engine Oil for Your Motorcycle
While motorcycle engine oils have undergone significant technological advancements in their formulations in recent years, not every engine oil is suitable or recommended for your specific motorcycle. The following are the factors to consider while selecting the correct engine oil for the best possible performance, efficiency and reliability of your motorcycle’s engine, which are generally mentioned in its owner’s manual:
- Viscosity Grade: It refers to the rate or thickness of flow of the engine oil, expressed in terms such as 10W-30 or 20W-40. While the number attached with ‘W’ denotes the oil’s ability in cold starting conditions, the number succeeding it indicates the oil’s ability to sustain itself at higher temperatures.
- Type of Engine Oil: There are three types of engine oils for motorcycles – mineral oil, semi-synthetic and fully-synthetic. Choose the type of engine oil as mentioned in the owner’s manual for your bike.
- Certifications: Look for efficient engine oils that display their API or JASO ratings (or both) on their packaging, just as they are listed in Havoline MAX 4T, one of the best engine oils that complies with many of the manufacturer's requirements for motorcycles.
Besides these factors, also consider the riding conditions for your motorcycle’s engine oil. Prefer semi-synthetic or fully synthetic engine oils for new-generation motorcycles, and the latter specifically for high-performance motorcycles.
Conclusion:
Replacing the engine oil is a mandatory process in some scheduled service appointments, which must be followed to protect the warranty of your motorcycle’s engine. However, when the bike has aged a bit and is out of warranty, it is not necessary to be dependent on the service centre or a mechanic for a process like an engine oil change, which might seem difficult at first, but is not as complicated as it appears.
Now that we have described the entire process of engine oil replacement step-by-step, ensure that the process is carried out with utmost care and attention, as failure to do so can lead to engine oil leakage after completion. Follow all the recommendations mentioned by your motorcycle’s manufacturer for engine oil change, including the right viscosity grade, type of oil and specifications. In the end, all you get is a rejuvenated engine that can last as long as you continue to take care of it in this manner.
FAQs
What is the first step in changing the oil of a motorcycle?
The first step in changing the oil of a motorcycle is to park it on a clean and flat surface, followed by keeping all the necessary tools and materials for the engine oil change nearby.
Can I do my own oil change at home?
You can change the engine oil of your motorcycle at home by yourself, as it does not require any complicated tools or materials, and the process of changing the engine oil is not difficult to execute.
How many kilometres should we change the engine oil in a bike?
The engine oil replacement interval varies by motorcycle model. However, the most common kilometre intervals recommended by manufacturers are once every 3,000 km (for older bikes), 5,000 km (for entry-level bikes), or 10,000 km (for premium and performance-oriented motorcycles).
Is it risky to do your own oil change?
Suppose the process of engine oil change is not done carefully with utmost attention, leaving room for mistakes such as not tightening the bolts and caps, and spilling oil over the engine. In that case, it can damage the engine’s internal components in the long run.
This Article is written by Chevron Technologies In Collaboration with Industry Expert

